
http://www.singletracks.com/blog/mtb-gear/opus-nelson-freeride-bike-review/
posted October 22, 2009 by element22
Introducing the 2010 Opus Nelson 1 (MSRP $4160.00 CDN), the much anticipated freeride bike that has been 2 years in the making. With a full 7-inches of travel front and back, this machine is purpose built. A floating shock incorporated in a VPP-style suspension manages the rear travel and a Totem coil fork up front with a onepointfive steering tube will keep you on the path, what ever that path may be.
With full head of steam on your hands you’re gonna need to stop this beast so Opus decided to use Avid Code brakes front and back, with a 8″ rotor up front and a 7″ rotor in back, giving you just enough stopping power to tame that wild beast. The Nelson is tricked out with SRAM components including a Truvativ Holzeller 36T crank, SRAM X9 trigger shifter, and SRAM X9 long cage rear derailleur. Seat post, stem, and bar are all FSA Gravity-Lite components. Novatec hubs keep things rolling (135mm through axle rear, 20mm front) and the hoops are Mavic’s 28mm wide EN521 32 hole rims. Geax Neuron 230 TNT tires provide the rubber to meet the trail.

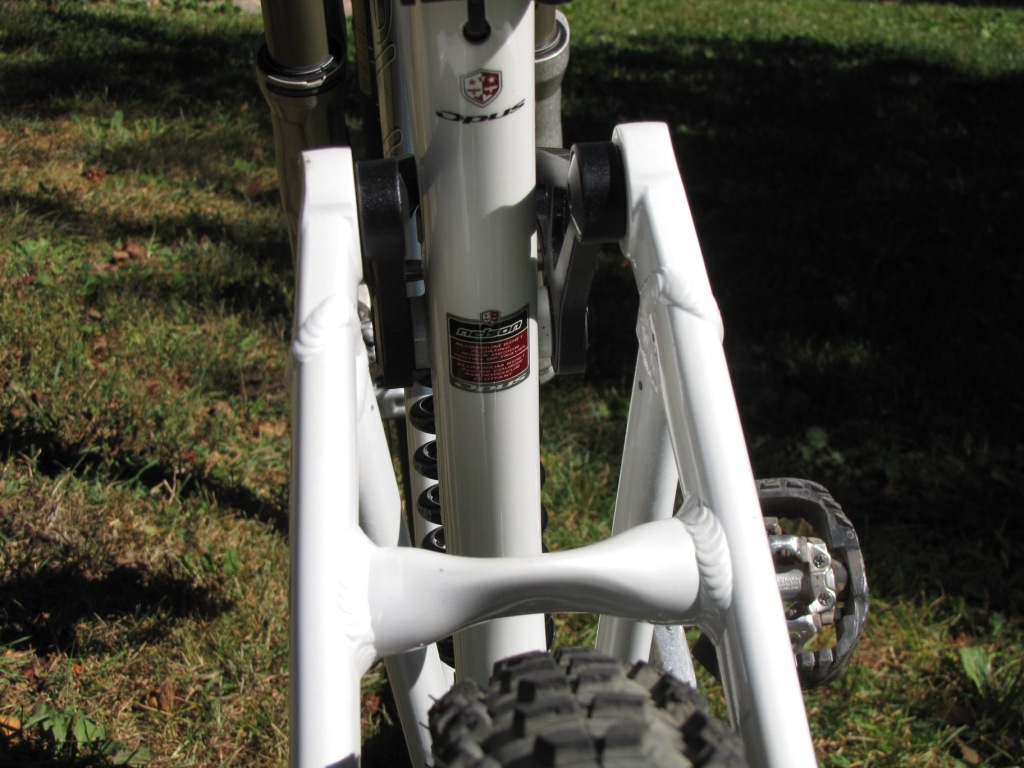
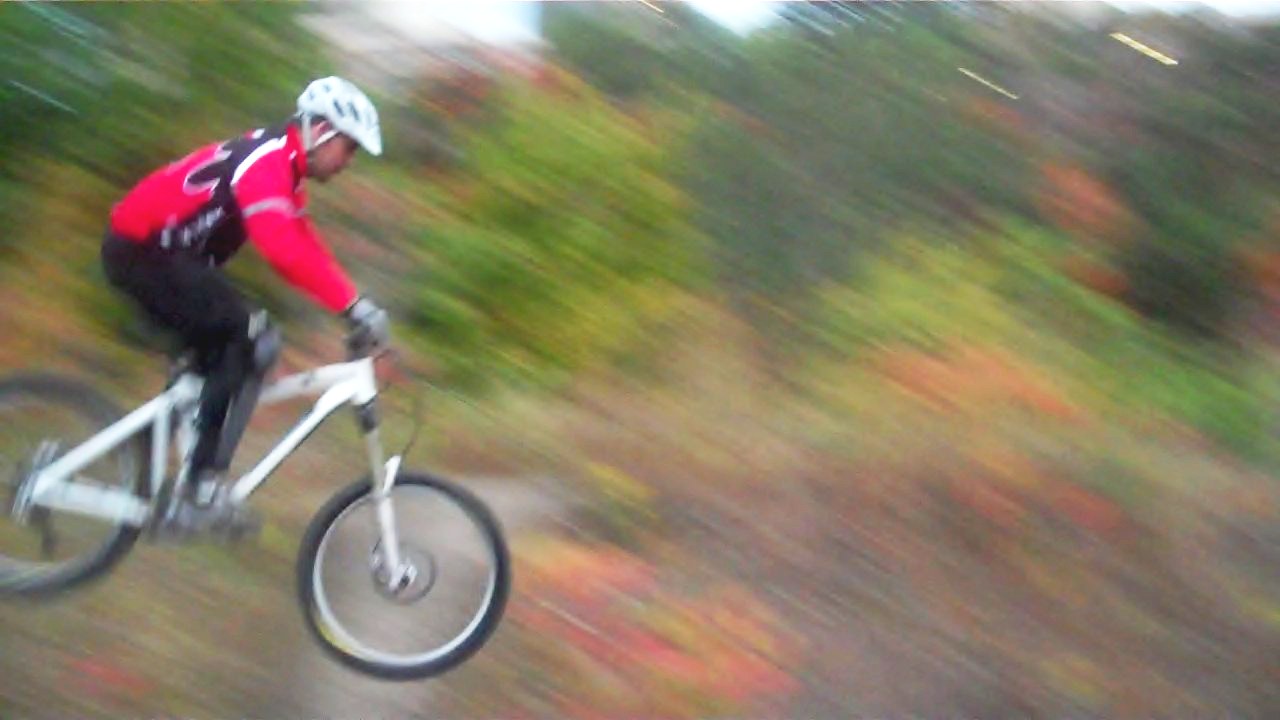
Taking a closer look at the Nelson you can see this machine is built for abuse. With large, oversized, manipulated top and down tubes and a one and a half inch head tube, this front triangle can take any abuse that bike parks and downhill slopes will dish out. The folks at Opus (Quebec, Canada) really spent time figuring out what their customers wanted in a freeride bike. Most of the initial product testing was done in BC with many tweaks made as a result of those sessions. Taking a quick look at this bike you can see the time was well spent considering durability and ease of maintenance.
Case in point: the oversized rear end allows you to use a 12×135mm through axle rear wheel which will save a bit of weight compared to a 12×150mm but also noticeably stiffens up the rear triangle. The use of oversized bearings on the pivot points, along with the oversized brace between the left and right seat stays, contribute to the overall strength and stability of the rear triangle and suspension. Up front you have the 180mm travel, 40mm stanchion Totem coil fork combined with a one and a half inch steering tube which takes care of front end stability and strength.


As with any FS mountain bike, getting the Nelson dialed in requires setting the front and rear suspension for your weight and riding style. On the front end, the Totem Coil has Mission control settings and Dual Flow rates that need to be customized. Using the guide provided on the Rockshox website, I started off with their recommendation of 4-4-1, and then went from there for my personal taste of a slightly more plush ride (I hit many rock gardens and I need a softer compression for that). I ultimately found that my low speed (silver knob) setting was 6 clicks and since I’m on the heavier side (195lbs) I ended up with 14 clicks rather than the 12 that they recommended as a starting point.
Now it’s time to set the rear suspension sag. The medium-sized Nelson comes with a 400 lb spring which may sound like a lot but for those who are heavier than 200 lbs, you’ll need at least a 450 or 500 lb spring. Once the sag is set at about 25 - 30% (preloading the coil), you can work on rebound. Here you’re looking to set the shock so that the bike won’t spring up too fast. Start with a little rebound and hit a few bumps in rapid succession. If you feel like you’re getting bucked off the back of the bike, keep adding clicks until the ride smooths out. You’ll know when you go to far when the rear end starts to lose travel over each bump.
Descending
Well, once the suspension is dialed in, the slack 66 degree head tube, 68 degree seat tube, and fairly generous 50mm stem will place you in a comfortable position, ready to roll! Now with numbers like these this bike is meant to do one thing very well: point down and go. The great thing about the Nelson is just how well the bike descends and I found that the faster the bike started to go, the better it handled. Keeping up speed on the Nelson seems to be the trick to make it work its magic.
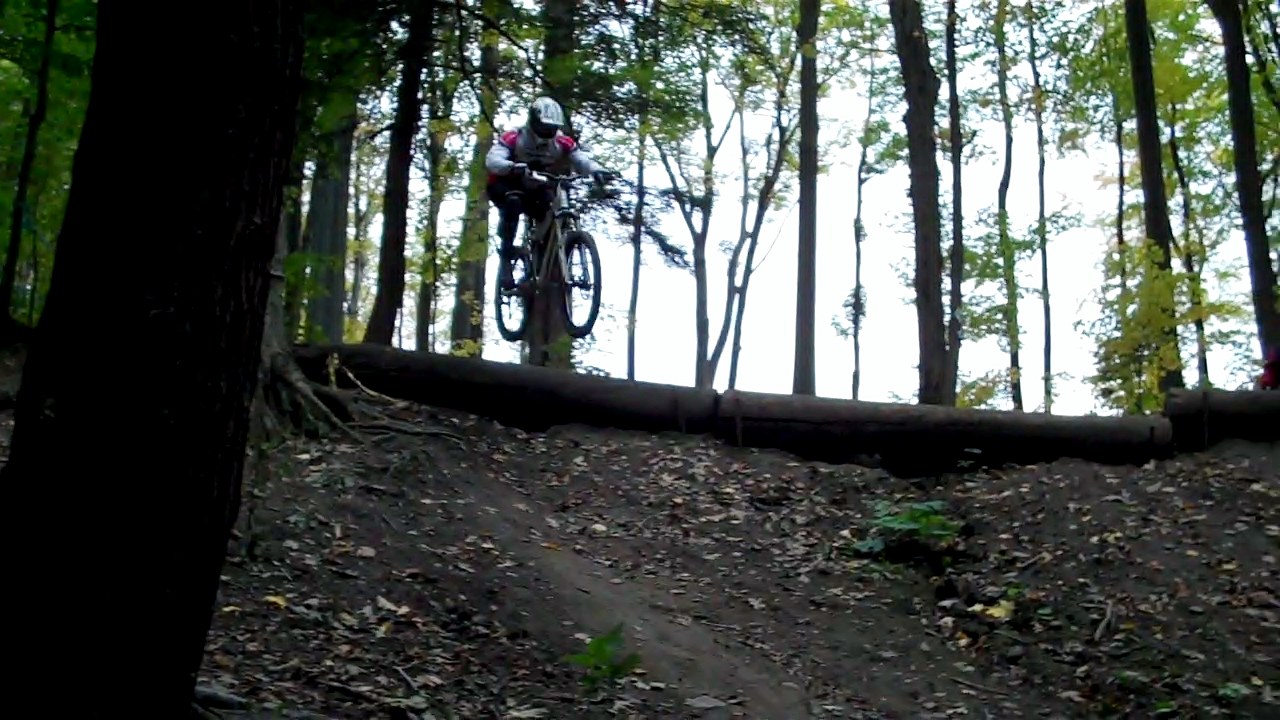
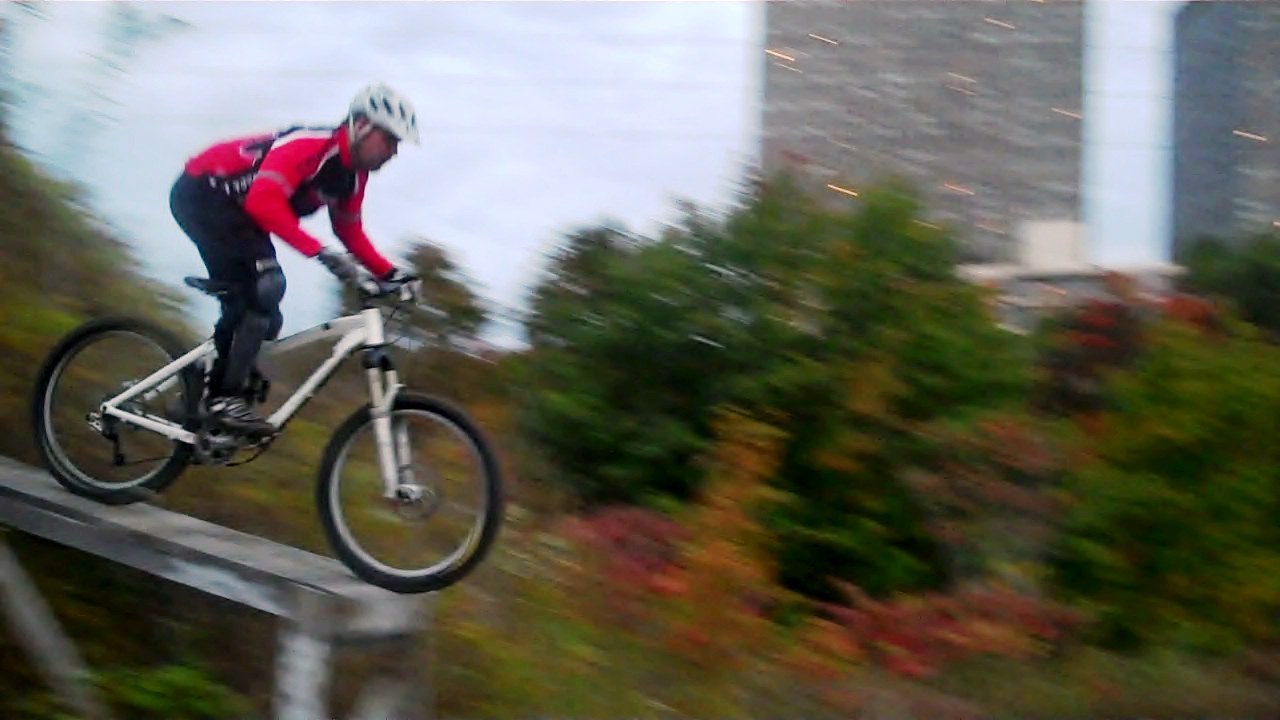
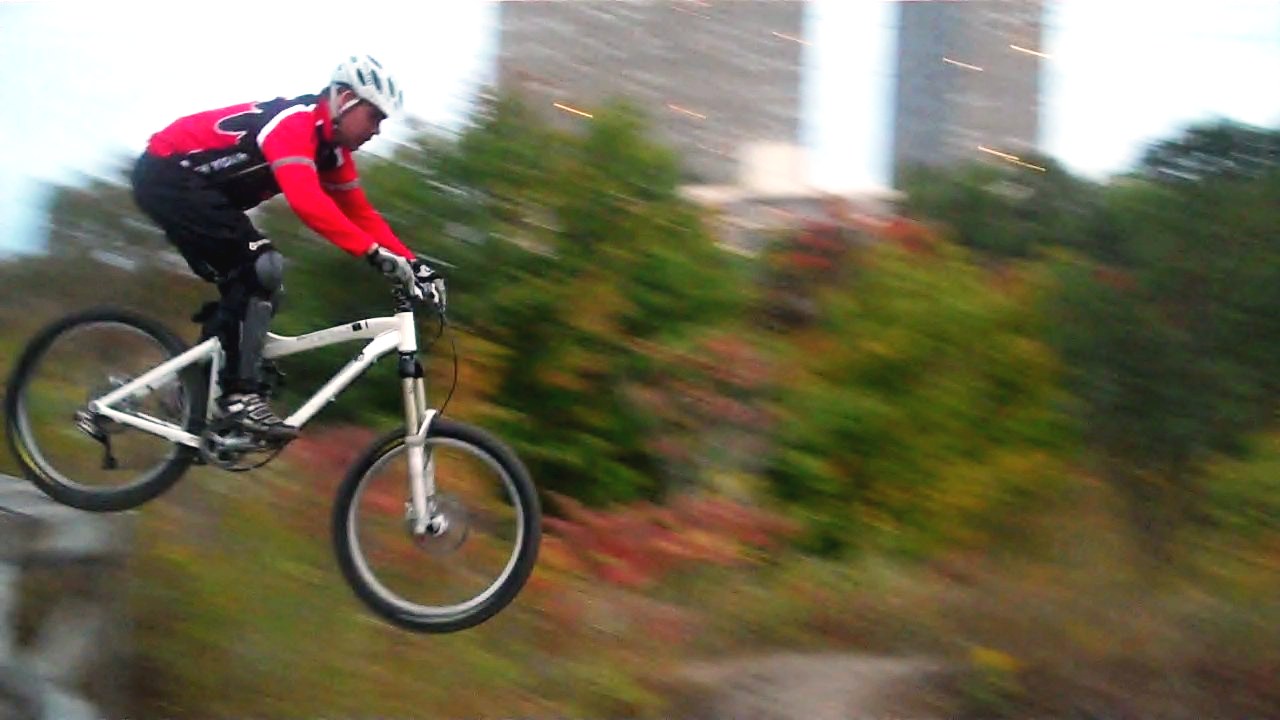
One comment that I made with a few of my crew on a photo shoot was how easy it was to take the bike over drops. I found that 3 to 6 foot drops were nothing for the Nelson. Just to give you an idea, picture yourself going over a sidewalk curb at medium speed - that’s how the Nelson felt on the 3 to 6 footers. For the brave, 10 to 12 foot drops are actually even more fun. Taking a look at the drop pic below you can see that the bike just soaks up the impact like it’s nothing, If you look carefully you can also see that the bike used all its travel on this particular jump. Hey, when you’re a freerider you learn how to use everything you’ve got - in this case I had 7 inches! Nailing jumps like the one below was simple and easy but with a bike like this you have to remember to keep your weight slightly behind the bottom bracket. Due to the oversized construction I found that off big hits the rear triangle sometimes brushed on my calf if my knees were tucked in a bit.
Pictured below is the 10ft drop sequence.


Here is a short video on the OPUS Nelson 1 at Kelso’s DH run.
Cornering / Railing
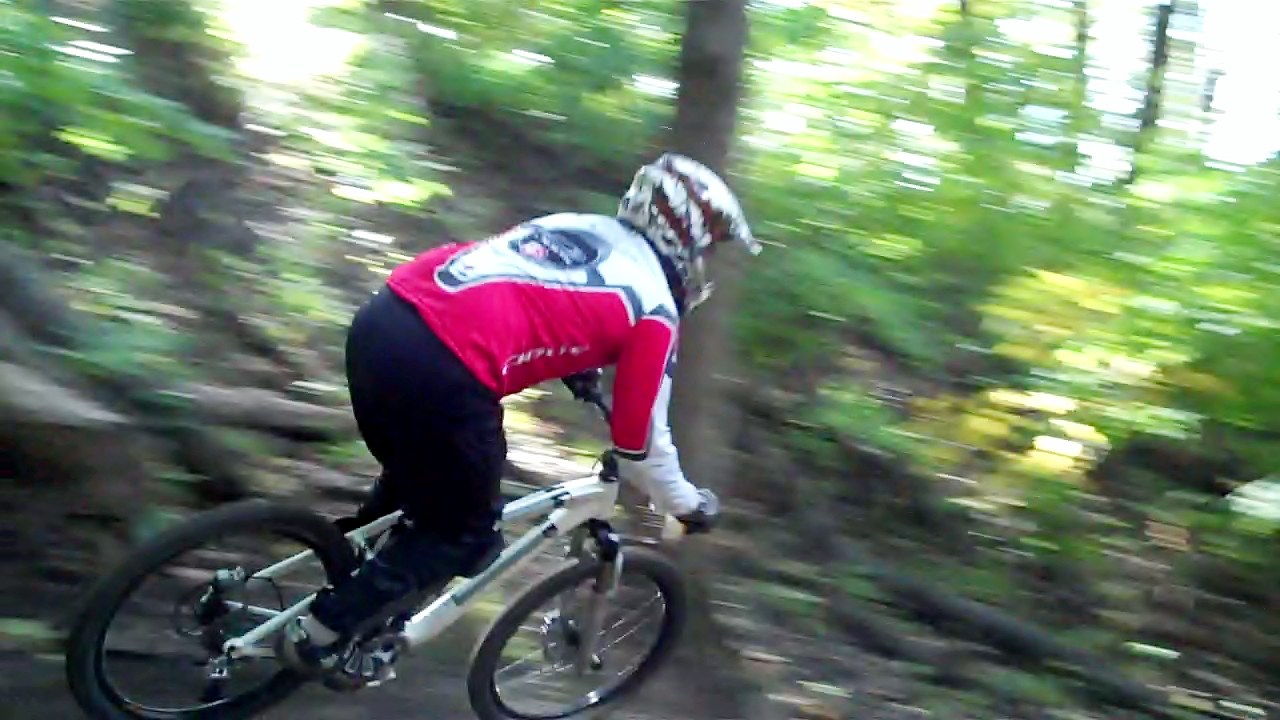
At low speeds this bike did fairly well cornering, however the slack head angle would probably cause the steering to feel a bit heavy if it weren’t for the wide 28-inch bars. At speed the bike behaved totally different and allowed me to use hip motion to change direction rather than steering input. With the wider bar and short stem the Nelson placed me in a perfectly centered position to allow for rapid changes in direction. Hitting berms and twisty sections between trees was a breeze and fun.
Upgrades
Having some time to play with the bike I managed to do some part swapping and found a few upgrades that would make this great bike even better. For starters, the wheels that come with the Nelson are decent and work well however I found that slapping on a set of Mavic Crossmax SX wheels with a set of Maxxis Ardents (2.40 instead of 2.30) made the bike stick so much better in the corners and the lighter mass of the wheels made this come out of corners a bit quicker. I also found myself wishing I had my Crankbrothers Joplin mounted on this bike so I could change the seatpost height without stopping. Up front a Hammerschmidt would give you a granny gear as well as the overdrive for pointing downhill. Plus the added clearance of a Hammerschmidt would also be a benefit when hitting big obstacles.
Overall
For my first time out on a freeride bike I would have to give a big thumbs up for the Nelson. It’s a fun ride, a solid build, and a no nonsense set-up that doesn’t ever harsh the flow. The frame is solid and the choice of front and rear suspension gave me a comfortable ride with no issues. If I had $4200 CDN to spend on a bike I would certainly give the Nelson serious consideration. If your budget isn’t quite that high, OPUS also has the Nelson 2 which is downgraded a bit with X-7 shifting, Husselfelt cranks, and a Domain fork but at just $2960.00 CDN. Sweet.
Specs from OPUS:
Nelson 1
Frame: 7005-T6 Aluminium triple butted alloy 150mm travel VPP
Color: White, gloss
Shock: Fox DHX 4.0 8,75 X 2,75
Fork: Rock Shox Totem coil - MCTL, 180mm 1.5″ steerer galv. finish
Headset: FSA OrbitT Z 1.5 Deepcup Semi Integrated
Bar: FSA Gravity-Lite 710 9-4, 25MM rise, 31.8
Stem: FSA Gravity-Lite 1.5 STEM 60mm
Grips: Velo VLG975 lock-on
Shifting: Sram trigger X9
Brakes: Avid Code - 203-185mm galv finish, 203-185mm rotors
BB: Truvativ Howitzer BB
Cranks: Truvativ Holzeller 36T, galv. finish
Rear D.: SRAM X9 long cage
Cassette: Sram PG 950 11.28T 9 spd.
Chain: Sram PC951, Powerlink
Wheels: Mavic EN521 Black, Disc 32 hole Novatec 992-991 Black - gold
Tires: Geax Neuron 230 TNT
Saddle: Selle San Marco Ischia, black
Seatpost: FSA Gravity -Lite SP 31.6mm, black
Just a quick thanks to my bud Ryan for helping with the video as well as the nice folks at Opus for sending the bike over for allowing me to hit the slopes for my test.
